Tutorial 1 of 6
Your first embroidery design in 5 minutes
Beginner 5 min
Open Threadsmith, draw a shape, give it real stitches, check the stitch preview and export a DST file for your machine.
Threadsmith turns drawings into the stitches an embroidery machine sews. In this tutorial you make a small badge from scratch and export it as a Tajima DST file — the format almost every machine (or its software) can read.
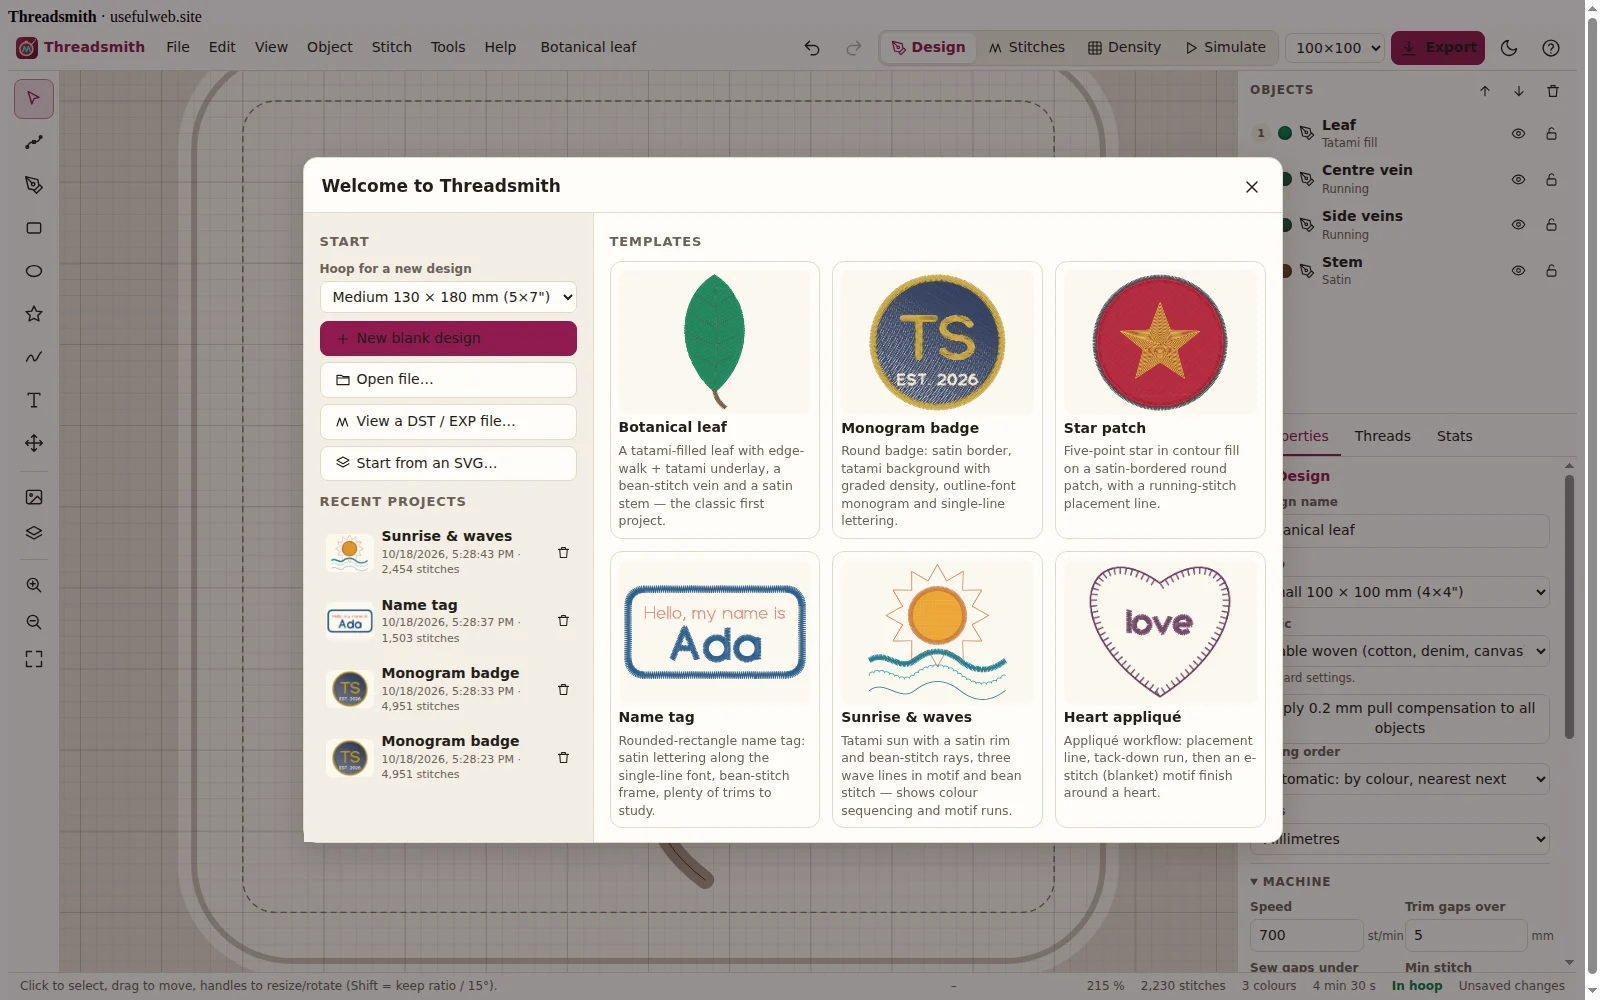
1. Start a new design
- Open Launch Threadsmith. The start screen shows templates on the right and your recent projects on the left.
- Pick your hoop under Hoop for a new design — for a first test choose Small 100 × 100 mm (4×4").
- Click New blank design.
Everything in Threadsmith is measured in millimetres. The centre of the hoop is the point (0, 0) and the dashed rectangle is the area your machine can sew. Your work is saved in this browser automatically every few seconds.
2. Draw a shape
- Press E (or click the ellipse button in the tool palette on the left).
- Drag inside the hoop. Hold Shift for a perfect circle, Alt to draw from the centre.
- Release: the shape appears in the Objects list on the right and is selected.
Threadsmith chooses a sensible stitch type straight away: shapes wider than 7 mm get a tatami fill, narrow ones a satin. You can see it in the object list under the object’s name.
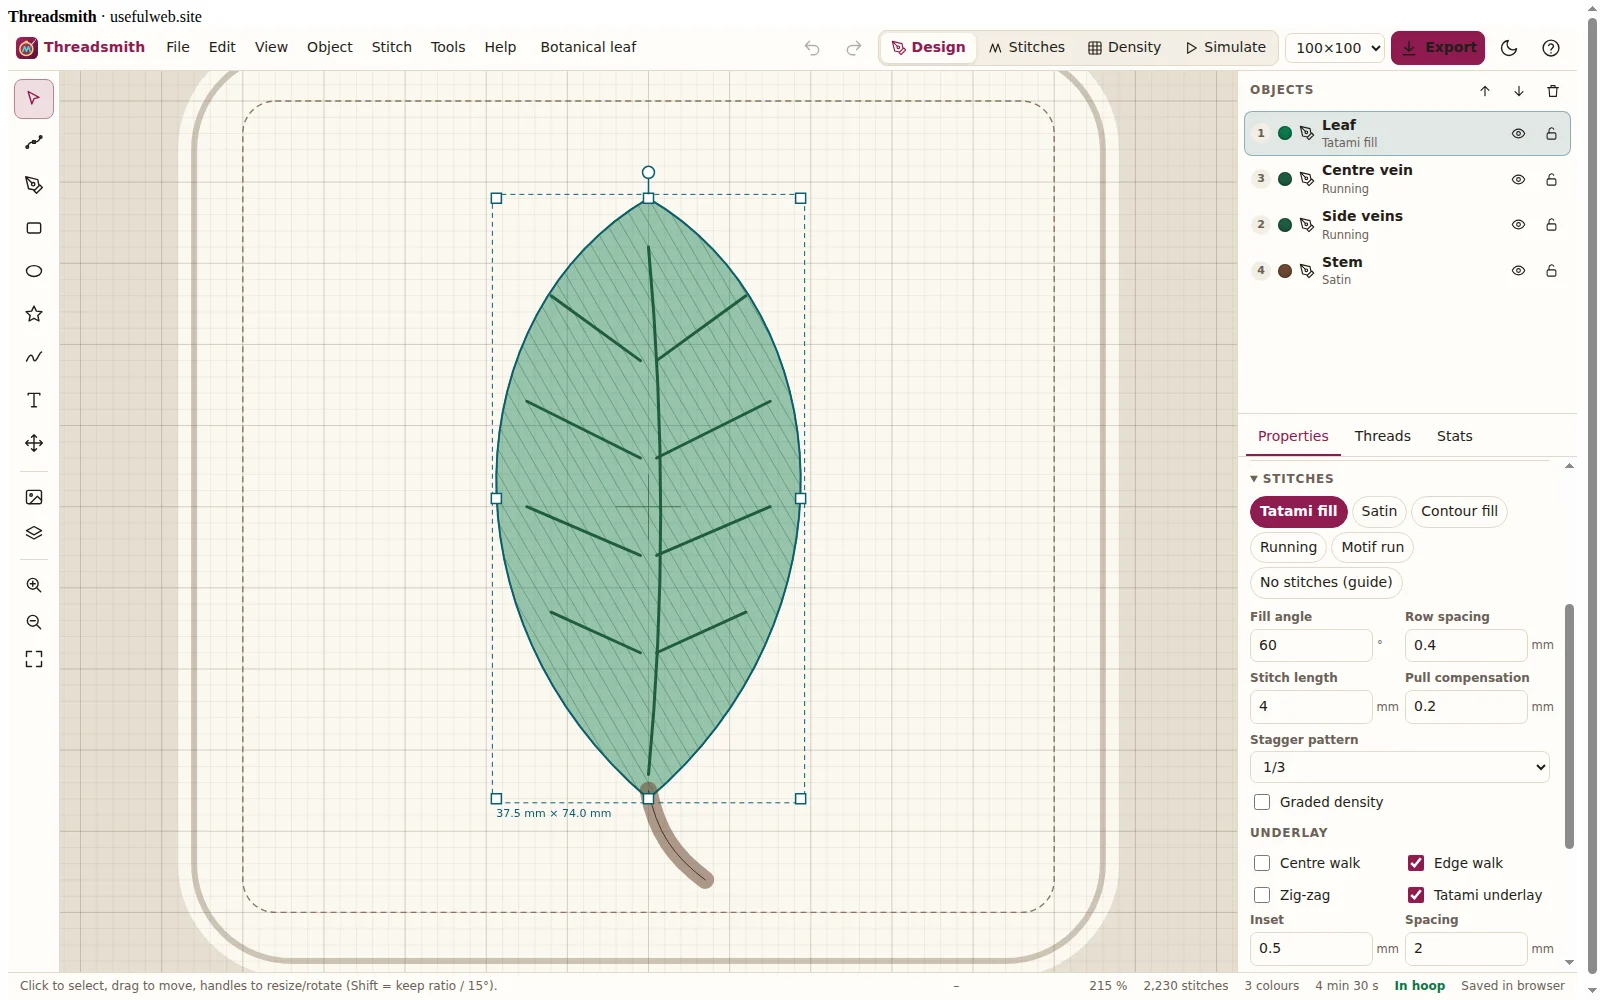
3. Pick a thread colour and the fill direction
In Properties on the right:
- Click a colour under Thread. Use + to add more colours from the built-in palette (Ruby, Sapphire, Emerald …).
- Under Stitches keep Tatami fill and set Fill angle to
30. The faint hatching on the canvas follows it. - Leave Underlay on Edge walk and Tatami underlay: these sparse stitches go down first and keep the fabric from puckering.
4. Add a second shape
Press G for the star tool and drag a star on top of the circle. Choose another thread colour, then in Stitches click Satin. Satin is the shiny, smooth stitch you know from badge borders and lettering.
5. Check the real stitches
Press 2 (or Stitches at the top). Threadsmith now shows every stitch with a thread-like look. The status bar at the bottom tells you the stitch count, the number of colours, the sewing time and whether the design fits the hoop.
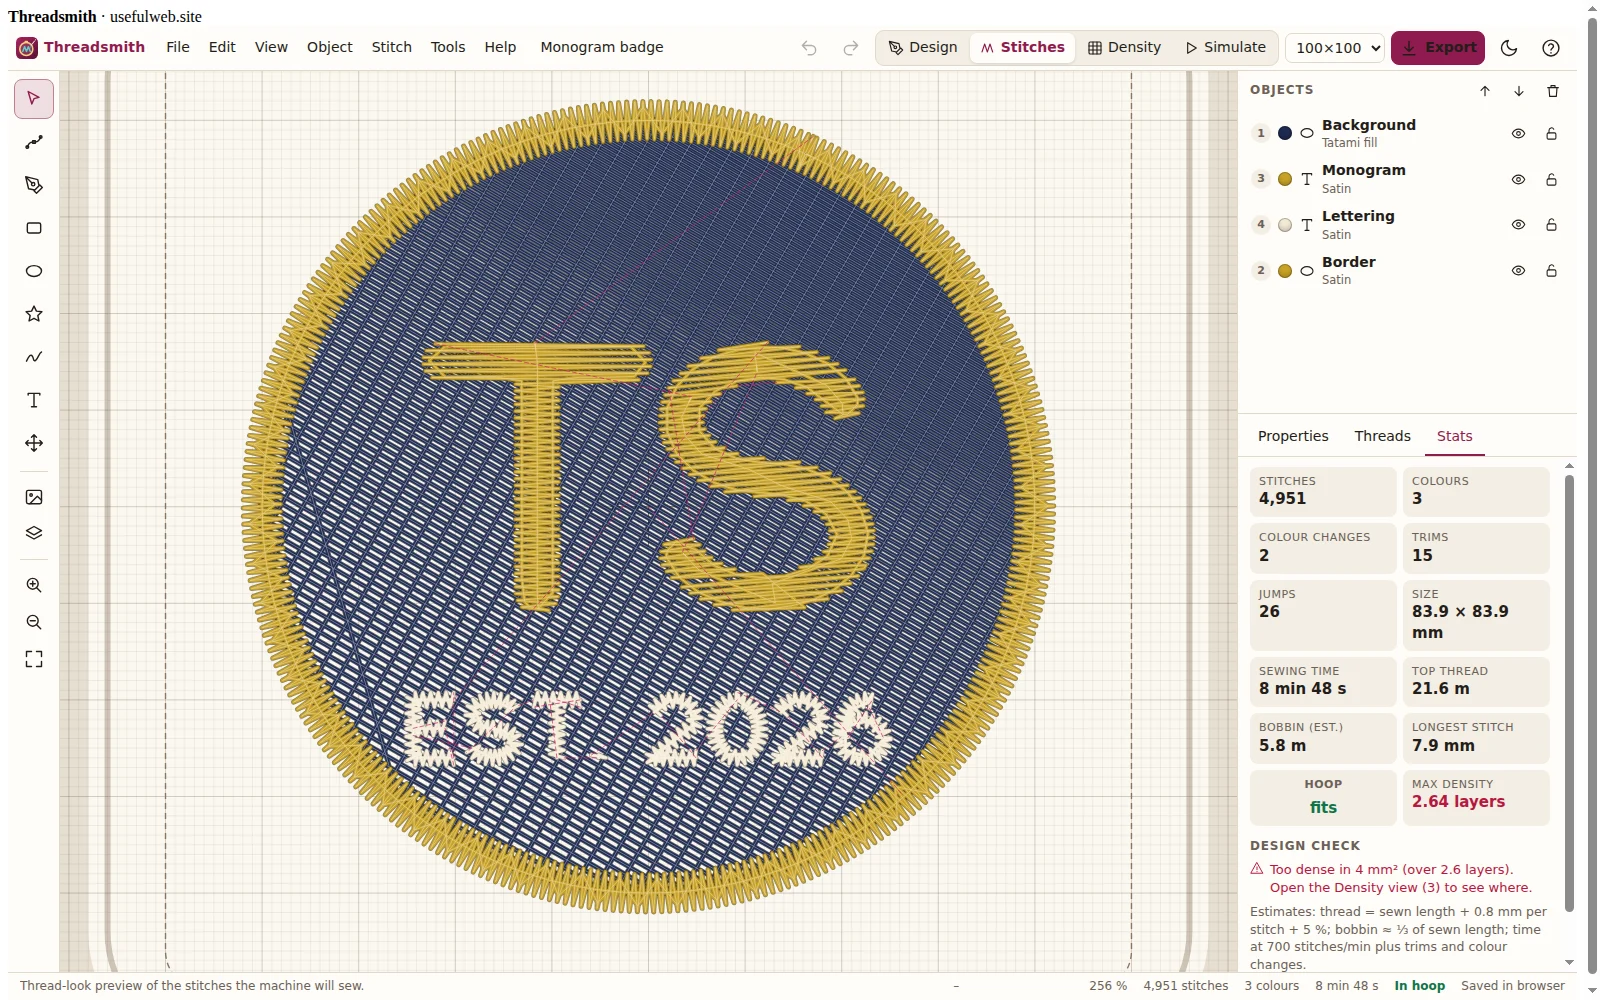
If the hoop label turns red (“design outside the hoop!”), make the shapes smaller with the corner handles in the design view (press 1).
6. Export for your machine
- Click Export in the top bar (or File → Export Tajima DST, shortcut Ctrl+E).
- Copy the
.dstfile to your machine (USB stick, cable or the machine’s app).
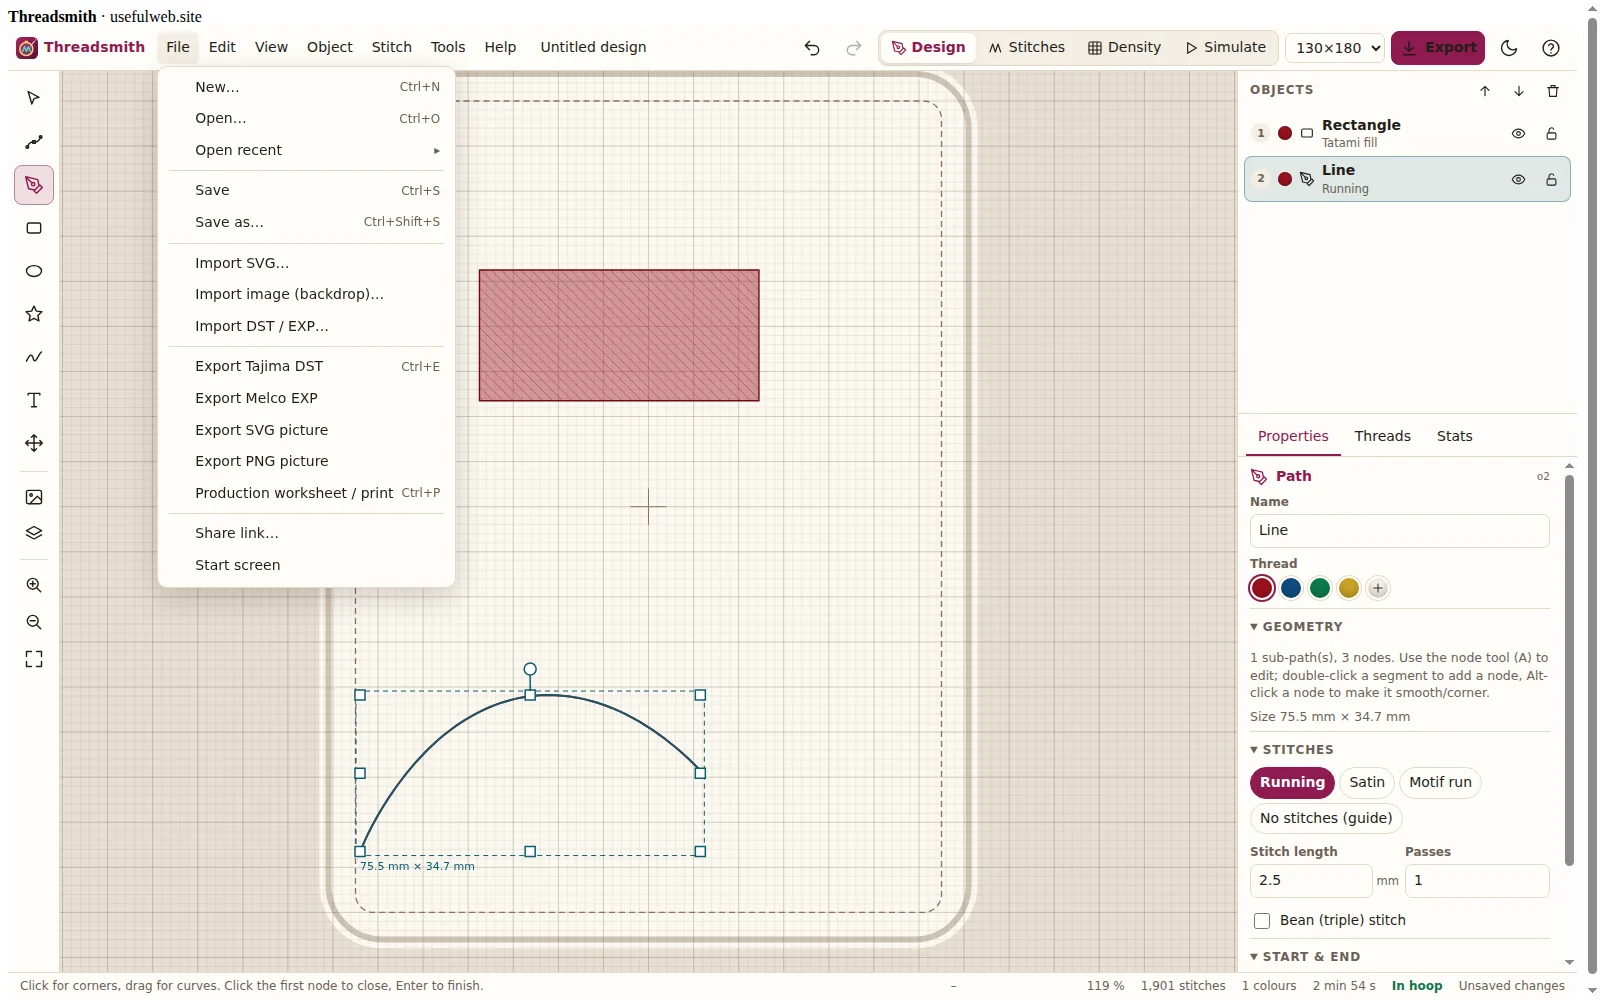
DST files store stitches and colour stops but no colours: thread the needles in the order shown in the Threads tab or on the production worksheet (File → Production worksheet, Ctrl+P).
What next?
- Try the templates on the start screen (File → New…) — each one demonstrates a technique.
- Read Satin, tatami and underlay explained to make your stitches sew cleanly on real fabric.
- Always do a test stitch-out on a scrap of the real fabric with the stabiliser you will use.