Tutorial 4 of 6
Import SVG artwork, trace bitmaps and draw with the pen
Intermediate 10 min
Bring existing logos into Threadsmith — as SVG, by auto-tracing a high-contrast image, or by drawing Bézier paths over a backdrop.
Most embroidery starts from existing artwork. Threadsmith gives you three ways to get it in: SVG import for vector files, auto-trace for high-contrast bitmaps, and the pen tool for drawing by hand over a backdrop picture.
SVG import
File → Import SVG… (or drop an .svg file onto the canvas).
- Threadsmith reads
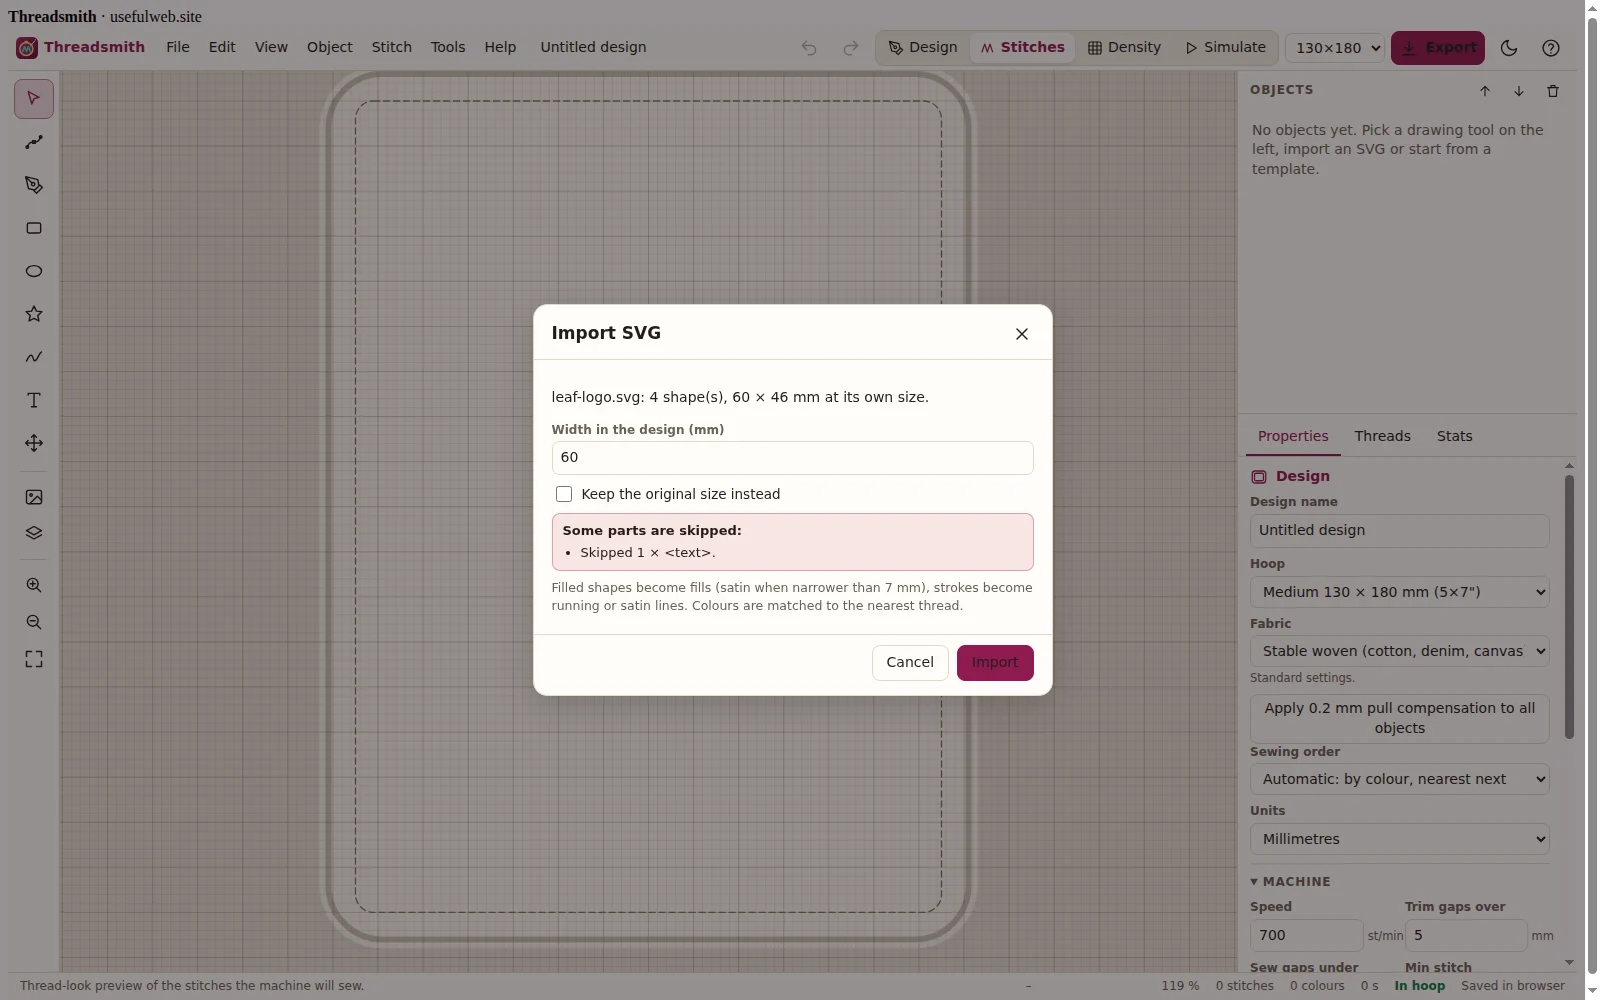
path,rect,circle,ellipse,line,polylineandpolygon, nested groups and everytransform(translate,scale,rotate,skewX/Y,matrix). Sizes come from the SVG’swidth/heightandviewBox(px are 96 dpi). - Set the width in the design — the artwork is scaled proportionally and centred in the hoop.
- Filled shapes become fill objects: satin when narrower than 7 mm, otherwise tatami. Strokes become running lines, or satin columns/borders when the stroke is at least 1.2 mm wide.
- Colours are matched to the nearest thread in your palette (or the built-in palette); clearly different colours are added as custom threads.
- Things embroidery cannot use are skipped with a note in the dialog: text (convert it to paths in your drawing program first), embedded images, gradients (replaced by a solid colour), CSS
<style>rules, clip paths and masks.
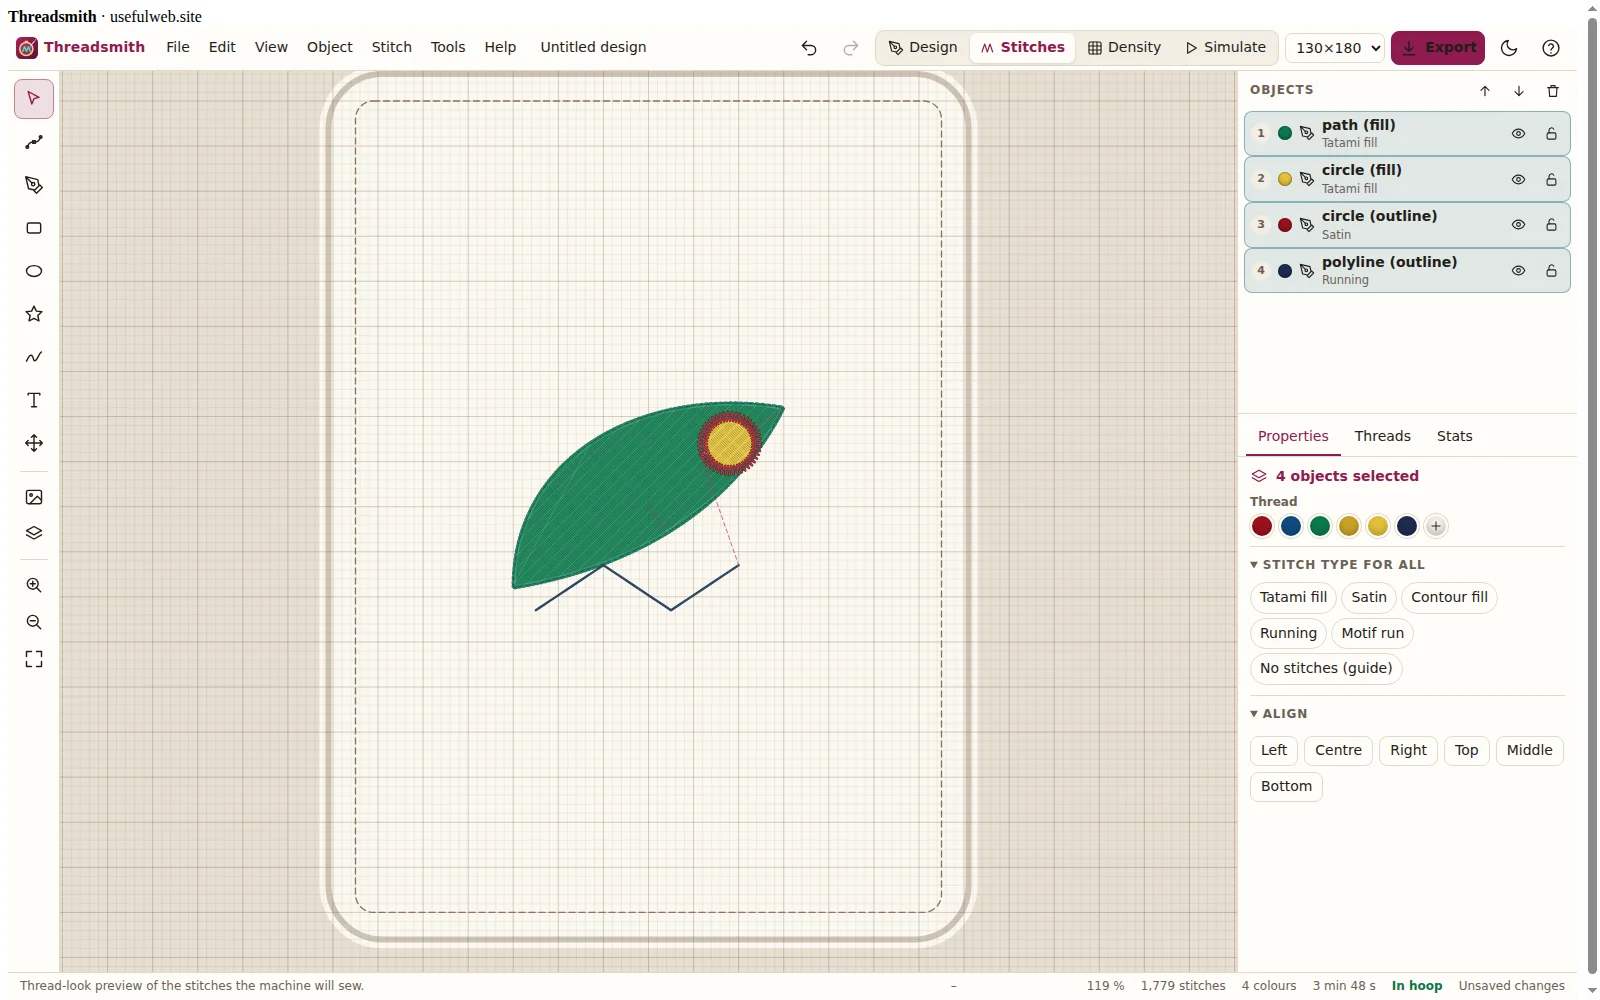
After import, check every object’s stitch type and angle — the automatic choice is a starting point, not a final digitizing.
Bitmap backdrop and auto-trace
File → Import image (backdrop)… places a PNG/JPEG/WebP behind your design. Adjust Opacity, position and width in the design properties (click on an empty part of the canvas to see them).
For logos and line art, Tools → Auto-trace backdrop… turns dark areas into shapes:
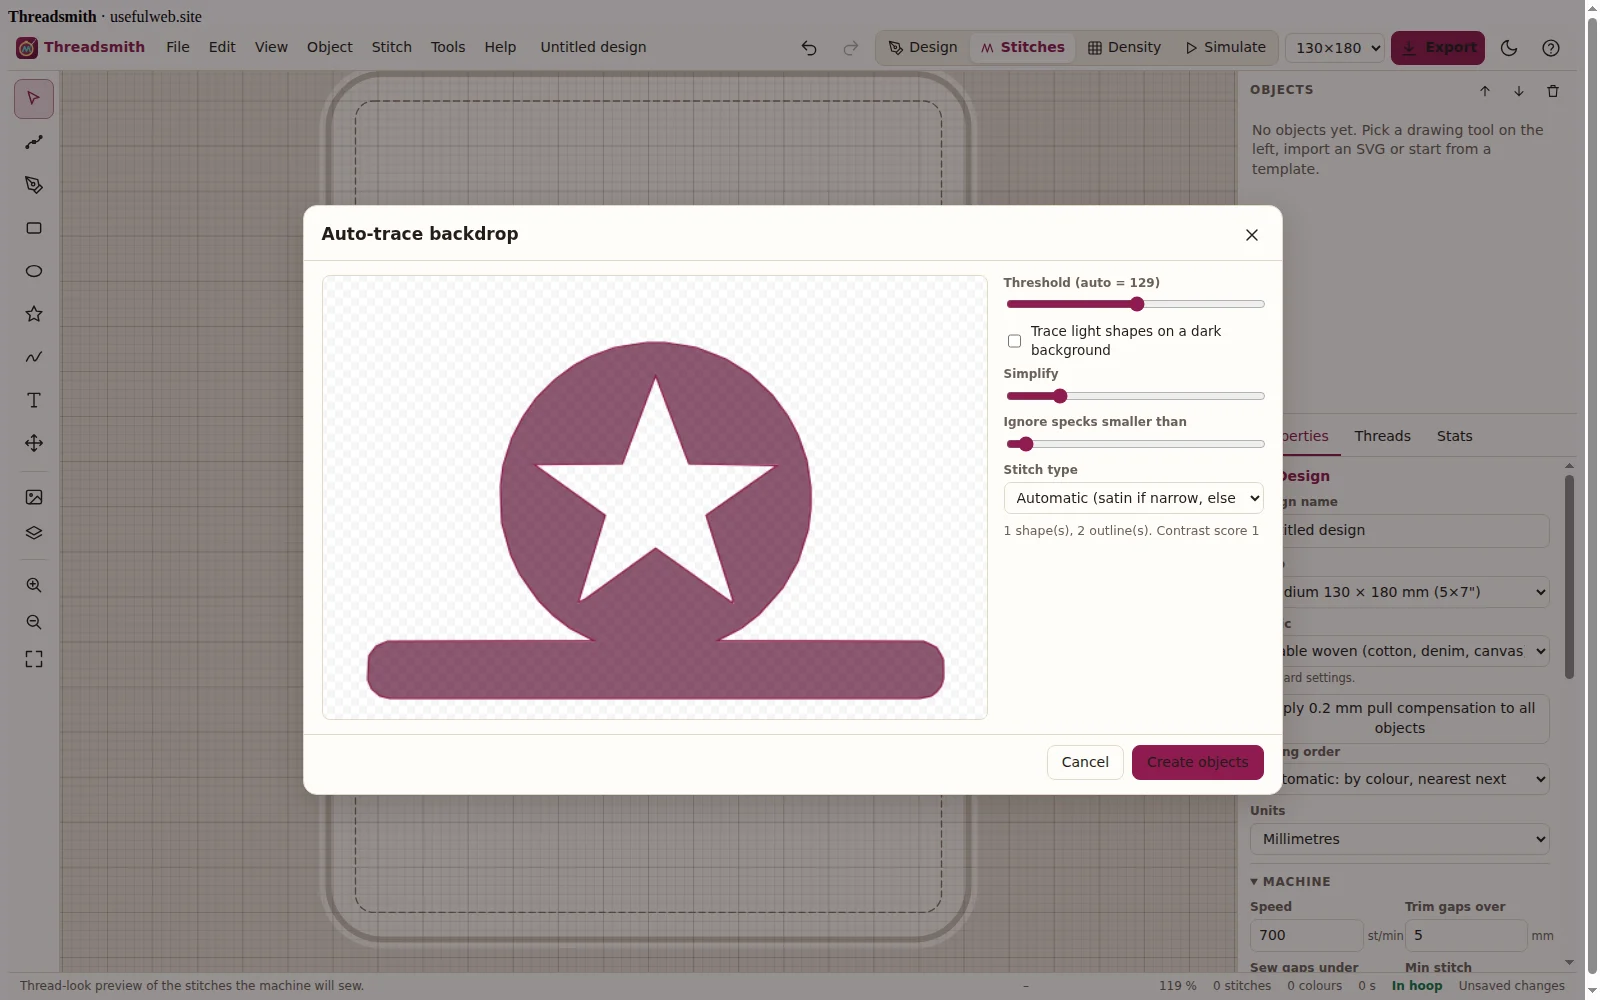
- Threshold starts at an automatic value (Otsu’s method). Move it until the pink preview covers exactly the parts you want.
- Trace light shapes on a dark background inverts the selection.
- Simplify removes jaggies; Ignore specks drops dust and noise.
- Pick a stitch type and click Create objects. Holes (the inside of an O, a star cut-out) are kept.
The contrast score tells you how suitable the picture is: near 1 traces cleanly, below 0.6 means it is probably a photo — those need hand digitizing.
Drawing with the pen (Bézier) tool
For anything the tracer cannot do, draw over the backdrop with P:
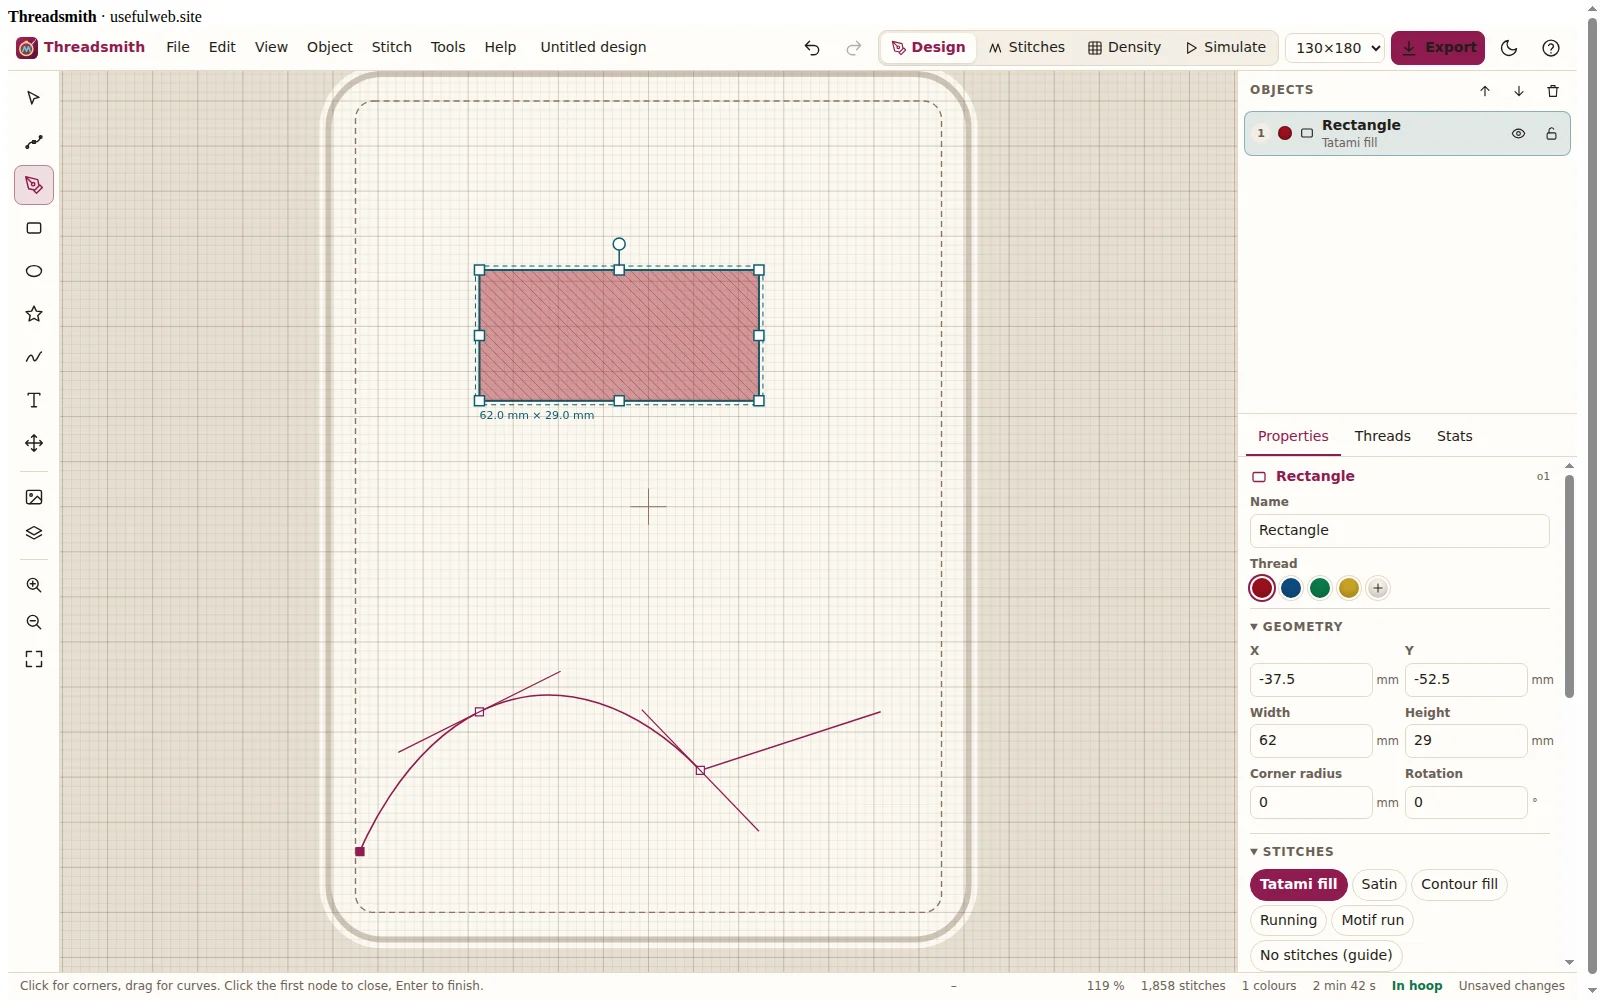
- Click to place a corner node, click and drag to place a smooth node with handles.
- Click the first node to close the shape (closed shapes can be filled), or press Enter to finish an open line.
- Backspace removes the last node, Esc cancels.
Edit later with the node tool A: drag nodes and handles, double-click a segment to insert a node, Alt-click a node to switch between smooth and corner, Delete removes the selected node. Rectangles, ellipses and stars are converted to paths automatically when you start editing their nodes.
The freehand tool (F) is quicker for organic shapes: draw freely and Threadsmith smooths the stroke into Bézier curves. End the stroke near its start to get a closed shape.
Tips
- Turn on View → Snap to grid for clean geometric shapes, off for organic tracing.
- Hide the backdrop (View → Show backdrop) to judge the stitches alone; it is never exported.
- Large photos are scaled down to 1600 px when stored in the project, so project files stay small.